01
Application behavior
Short open time, rapid skinning, excessive slip, sticky troweling or poor tile-back wetting.

A practical look at the information, controls and decisions used to turn a submitted formula and local raw materials into an interpretable laboratory program.
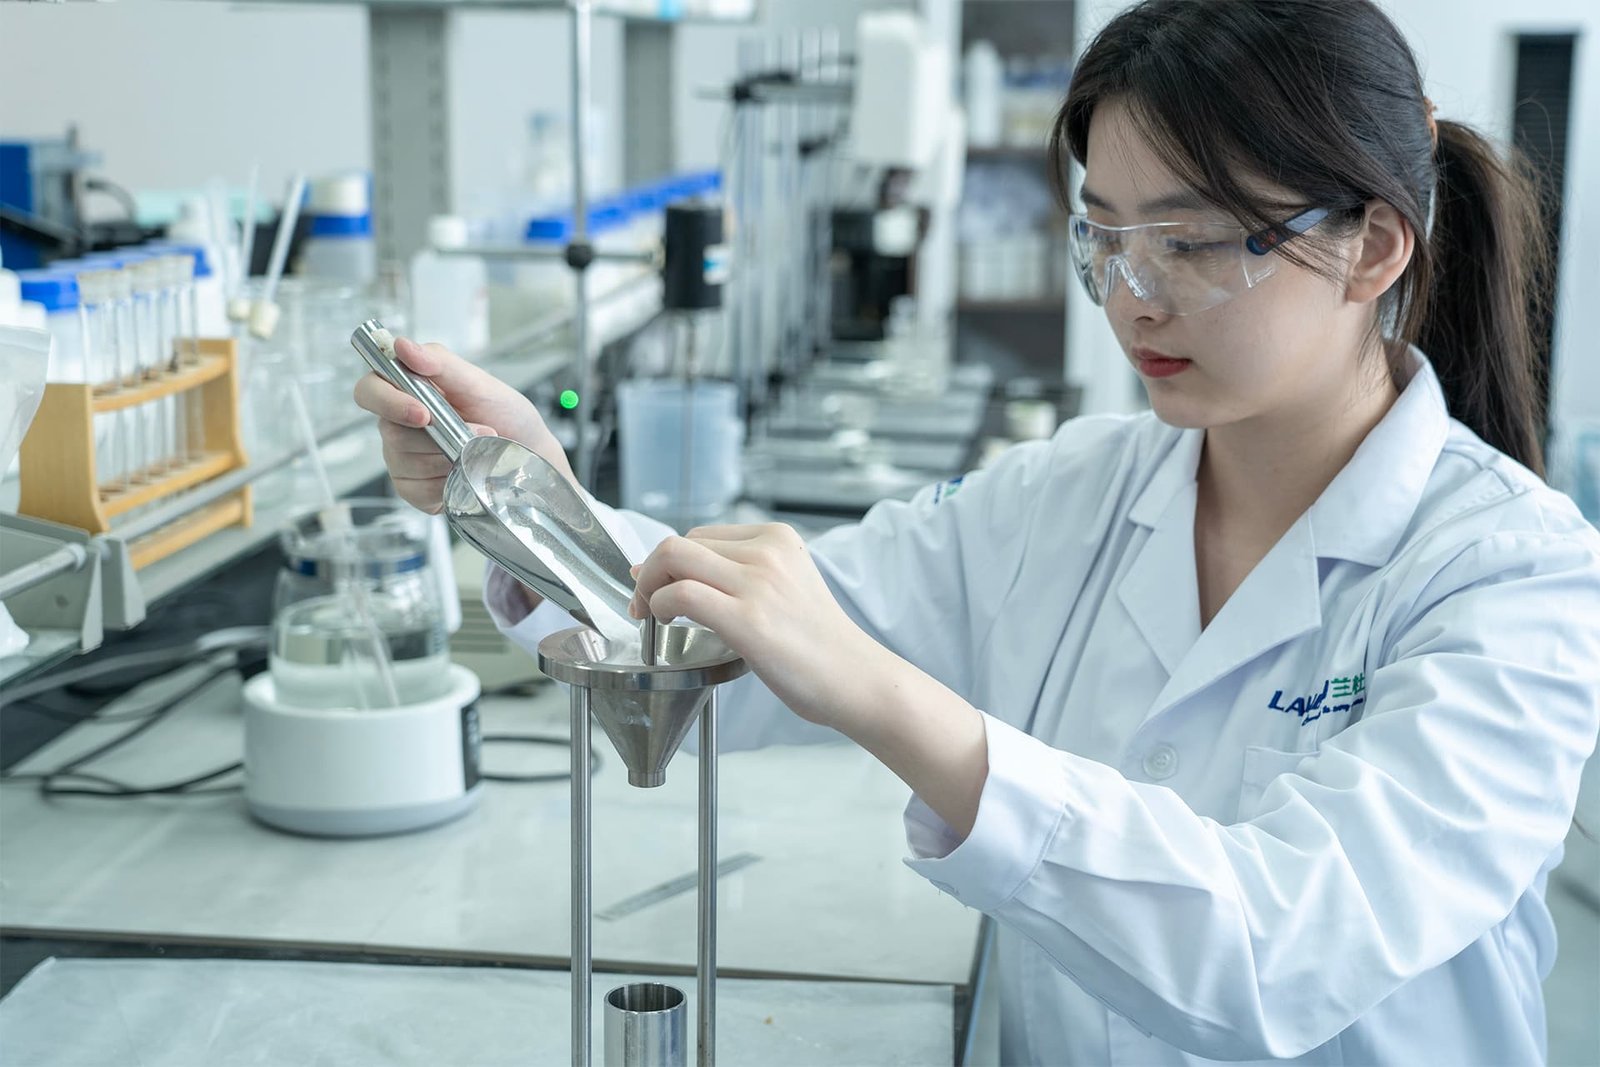
When a customer sends a tile adhesive formula for optimization, the most useful starting point is not a replacement recipe. It is a reproducible description of the current system: what was supplied, how it was mixed, which result failed and under which test condition.
Our laboratory reconstructs that baseline before proposing a change. The observed failure then determines the first comparison, while unrelated materials and preparation conditions remain fixed. This keeps the result traceable to the customer’s own cement, minerals, water demand and performance target.
Before testing
“Customer sample” can mean a formula sheet, a finished dry mix or separate local raw materials. These inputs answer different questions, so a useful assessment package should include as much of the following as possible:
A dry-mix sample shows how the finished mortar behaves, but it may not explain why. A formula without the actual local materials also has limits because nominally similar raw materials can differ in water demand, particle distribution, reactivity and additive compatibility. See the overview of tile adhesive composition for the function of the principal components.
Step 1
“The formula does not work” is too broad for an efficient test program. The problem must first be converted into one or more observable or measurable symptoms.
Short open time, rapid skinning, excessive slip, sticky troweling or poor tile-back wetting.
Low reference adhesion or strength loss after water, heat or freeze-thaw conditioning.
Insufficient deformability or unstable results for the intended tile, substrate, climate or classification.
These symptoms do not point to the same variable. Short open time may involve water retention, cement reactivity, substrate absorption and ambient conditions. Low immersed strength may involve polymer selection, pore structure, entrained air or the bonded interfaces. Increasing cellulose ether without identifying the mechanism may improve consistency while reducing wetting or delaying strength development.
Step 2
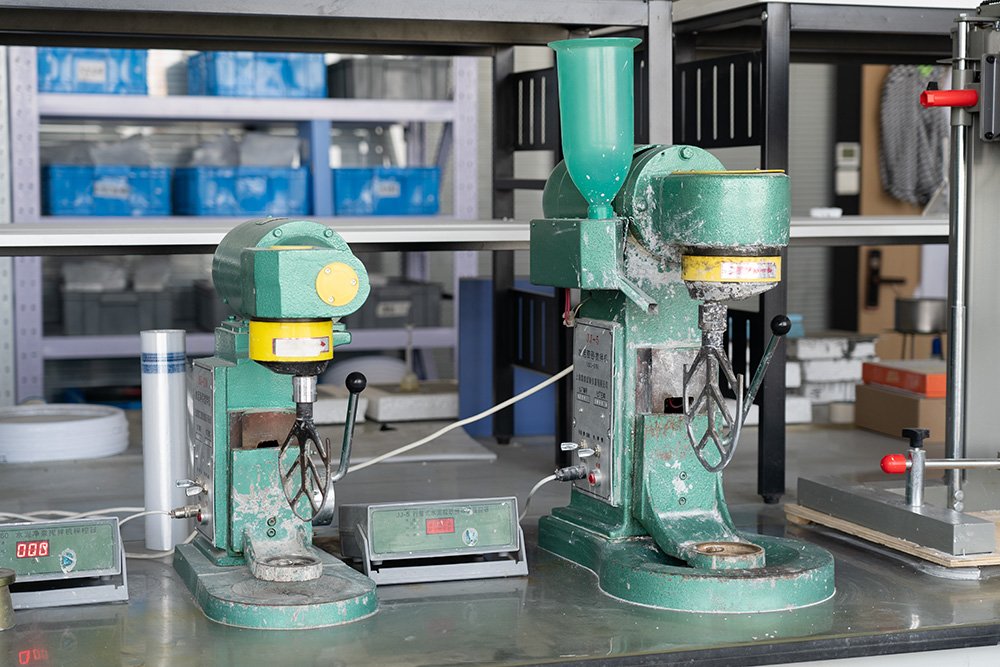
The current formula becomes the control. We reproduce it as closely as the available materials allow, using a fixed water addition, mixing sequence, maturation time, application procedure and conditioning route.
The control must answer three questions:
If the baseline cannot be reproduced, differences in cement, sand moisture, filler fineness, mixing energy, tile type, substrate absorption or test timing should be examined before reformulating.
Step 3
The submitted formula is reviewed as a complete system, but the first trial should address the evidence already available. The table below shows how the initial route is selected without turning this article into another general ingredient guide.
| Reported or reproduced symptom | Check before reformulating | First controlled comparison |
|---|---|---|
| Short open time or early skinning | Water addition, mixing sequence, substrate absorption and test climate | Compare one suitable HPMC for tile adhesive variable while the mineral system remains fixed. |
| Excessive slip or heavy troweling | Consistency, ridge shape and whether added water changed between batches | Separate rheology-grade selection from dosage and water adjustment. |
| Low reference adhesion | Tile transfer, bonded area, air content and failure location | Correct preparation or pore-structure limitations before increasing additive dosage. |
| Reference result passes but wet strength fails | Compare specimen failure modes before and after immersion | Screen water demand, air control and RDP selection as separate variables. |
| Performance changes after a local raw-material substitution | Identify the exact changed cement, sand, filler or additive grade | Restore the previous control, then substitute only the changed material. |

Step 4
After identifying the most likely limiting variables, prepare a focused matrix. Change one principal variable at a time so that every result remains interpretable.
| Trial | Main change | Question answered |
|---|---|---|
| Control | Customer’s current formula | What is the reproducible baseline? |
| A | First variable indicated by the failure evidence | Does changing the suspected control point move the failed result? |
| B | Second realistic level of the same variable | Is the response directional, stable and useful? |
| C | Alternative grade at a comparable level | Does chemistry or product design matter more than dosage? |
| D | Preparation control | Was the apparent gain caused by water, mixing, air or specimen preparation? |
| E | Confirmation mix | Can the selected correction be reproduced without losing another required property? |
Not every project needs every row. A clean tile back after immersion leads to a different plan from cohesive failure through a porous adhesive layer. Changing several materials together may improve one sample, but it does not reveal which change produced the improvement.
Step 5
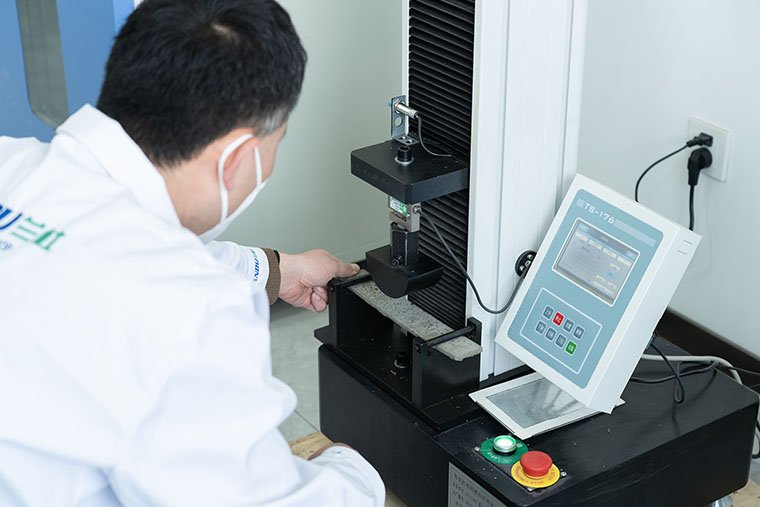
Every trial record should connect preparation conditions, fresh-mortar observations, the required hardened result and the observed failure mode. This prevents a formulation decision from being based on one favorable number.
Conditioning routes remain separate because each answers a different question. If reference-cured adhesion passes but immersed strength fails, use the dedicated guide to diagnose water-immersion strength failure rather than repeating that analysis here. Cold-climate projects can use the separate tile adhesive freeze-thaw test workflow.
Step 6
The objective is not to maximize every additive. It is to define a stable operating range that meets the target while remaining practical for production and application.
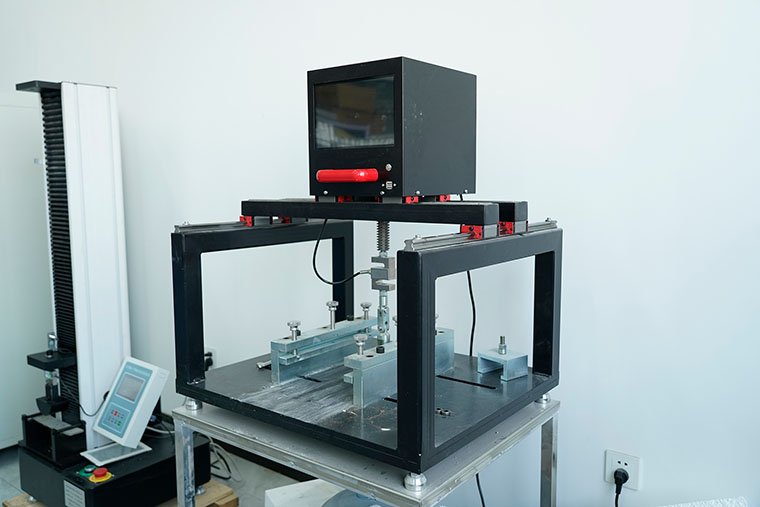
Laboratory screening can identify likely causes, compare additive grades and define a practical starting range. It cannot replace validation with the customer’s normal materials, equipment and test procedure.
The selected trial should be reproduced with regular production batches and confirmed against both application needs and the required performance classification. If the cement or mineral source changes, the validated range should be checked again.
Send the current formula, exact raw-material grades, representative samples, water addition, target classification, test method, individual results and failure photographs. The goal is a traceable explanation of what limited the original system and how the correction can be verified locally.