
Common Tile Adhesive Problems: Causes and Additive Solutions
From the first trowel pass to the finished bond: connect site problems with practical checks and additive selection.
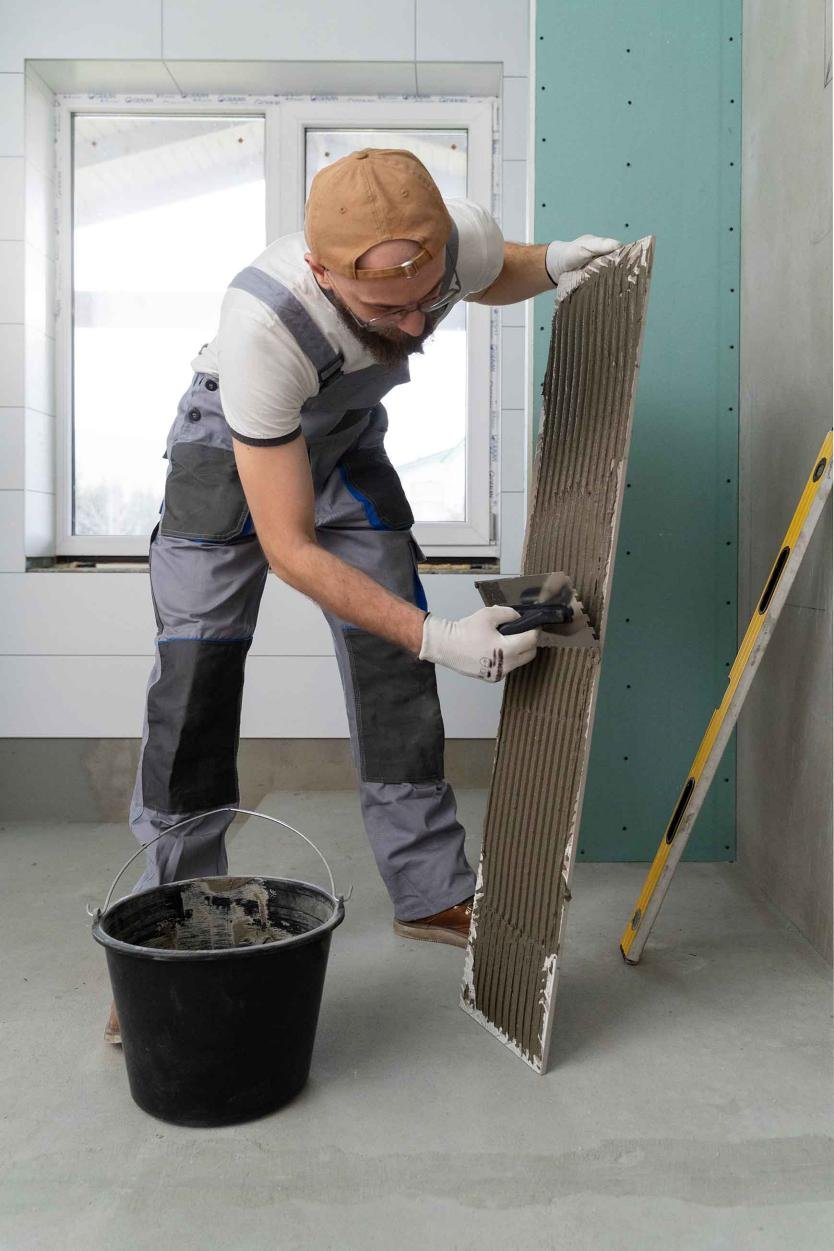
Tiles slipping down walls, adhesive drying before placement, difficult spreading and loose tiles are familiar problems on construction sites. For tile adhesive manufacturers, these complaints provide useful information about how a formulation performs under actual installation conditions.
Effective troubleshooting starts with the point at which the problem appears: during mixing, spreading, tile placement or after hardening. Each stage reveals a different part of the adhesive’s performance.
This guide connects common site complaints with practical checks and explains how HPMC, MHEC, redispersible polymer powder and other additives contribute to formulation improvements.
What Should You Check Before Troubleshooting Tile Adhesive?
Before discussing additive changes, establish how the adhesive was prepared and applied.
Record the tile type and size, substrate condition, mixing-water quantity, application thickness and site environment. Confirm that the installer followed the product’s mixing, resting and application instructions.
Pay particular attention to:
- Dust, coatings, loose material or contamination on the substrate.
- Water addition outside the product’s specified range.
- Adhesive spread over an area too large to tile promptly.
- Inadequate contact between the adhesive and tile.
- Exposure to wind, direct sunlight or unsuitable temperatures.
- Use of an adhesive outside its intended application.
These observations help separate an installation issue from a formulation mismatch. They also give the manufacturer a practical starting point for reproducing the complaint.
Tile Adhesive Problems, Causes and Solutions at a Glance
| Site problem | Priority checks | Relevant formulation direction |
|---|---|---|
| Tiles slip down the wall | Mixing water, bed thickness, tile load and product suitability | Balance spreading consistency with anti-slip performance |
| Adhesive skins over before placement | Time after spreading, wind, heat and substrate absorption | Improve water retention and open-time performance |
| Adhesive is difficult to spread | Mixing procedure, water demand and time since preparation | Adjust cellulose ether selection and overall rheology |
| Adhesive does not make full contact | Trowel selection, placement technique and surface skinning | Balance ridge stability, wetting and deformation |
| Tiles come loose after installation | Coverage, substrate condition and location of separation | Review polymer modification and substrate compatibility |
| Bond strength declines after water exposure | Product suitability, curing and exposure conditions | Review the complete cement–polymer system |
Why Do Tiles Slip Down the Wall During Installation?
Tile slipping is the downward movement of a tile after it has been placed in fresh adhesive. It disrupts joint alignment and increases installation time, particularly on vertical surfaces.
Start with mixing water and application thickness. An adhesive mixed too loosely or applied outside its intended thickness range can struggle to hold the tile in position.
For the manufacturer, the task is to create a mortar that spreads readily under the trowel but offers sufficient resistance to movement after placement.
HPMC and MHEC influence consistency, water retention and fresh-mortar rheology. Compatible starch ethers or other rheology modifiers provide additional options for adjusting anti-sag behavior.
Simply increasing viscosity is not a complete solution. Excessive resistance during spreading or poor compression beneath the tile can make installation more difficult even when sliding is reduced.
Evaluate vertical stability together with troweling, tile adjustment and contact. Our guide to tile adhesive slipping on walls explores this formulation balance in more detail.
Why Does Tile Adhesive Dry Too Fast or Skin Over?
Two different complaints are often described as “drying too fast.”
The first is loss of workability in the mixing bucket. The second is surface skinning after the adhesive has been spread. These occur at different stages and should be recorded separately.
With surface skinning, the mortar underneath may remain soft while the exposed layer no longer transfers effectively to the tile. Spreading a large area before placement gives this exposed surface more time to dry.
Wind, direct sunlight and substrate absorption also affect the installation window.
On site, work within the product’s application instructions and remove adhesive that has skinned over. Sprinkling water onto the surface is not a suitable way to restore the original adhesive condition.
For formulation development, cellulose ether selection helps control water retention and application behavior. The relevant goal is useful open time in the finished adhesive, rather than the highest possible water-retention result in isolation.
See how to extend tile adhesive open time for a closer look at the relationship between formulation and installation conditions.
Why Is Tile Adhesive Difficult to Spread?
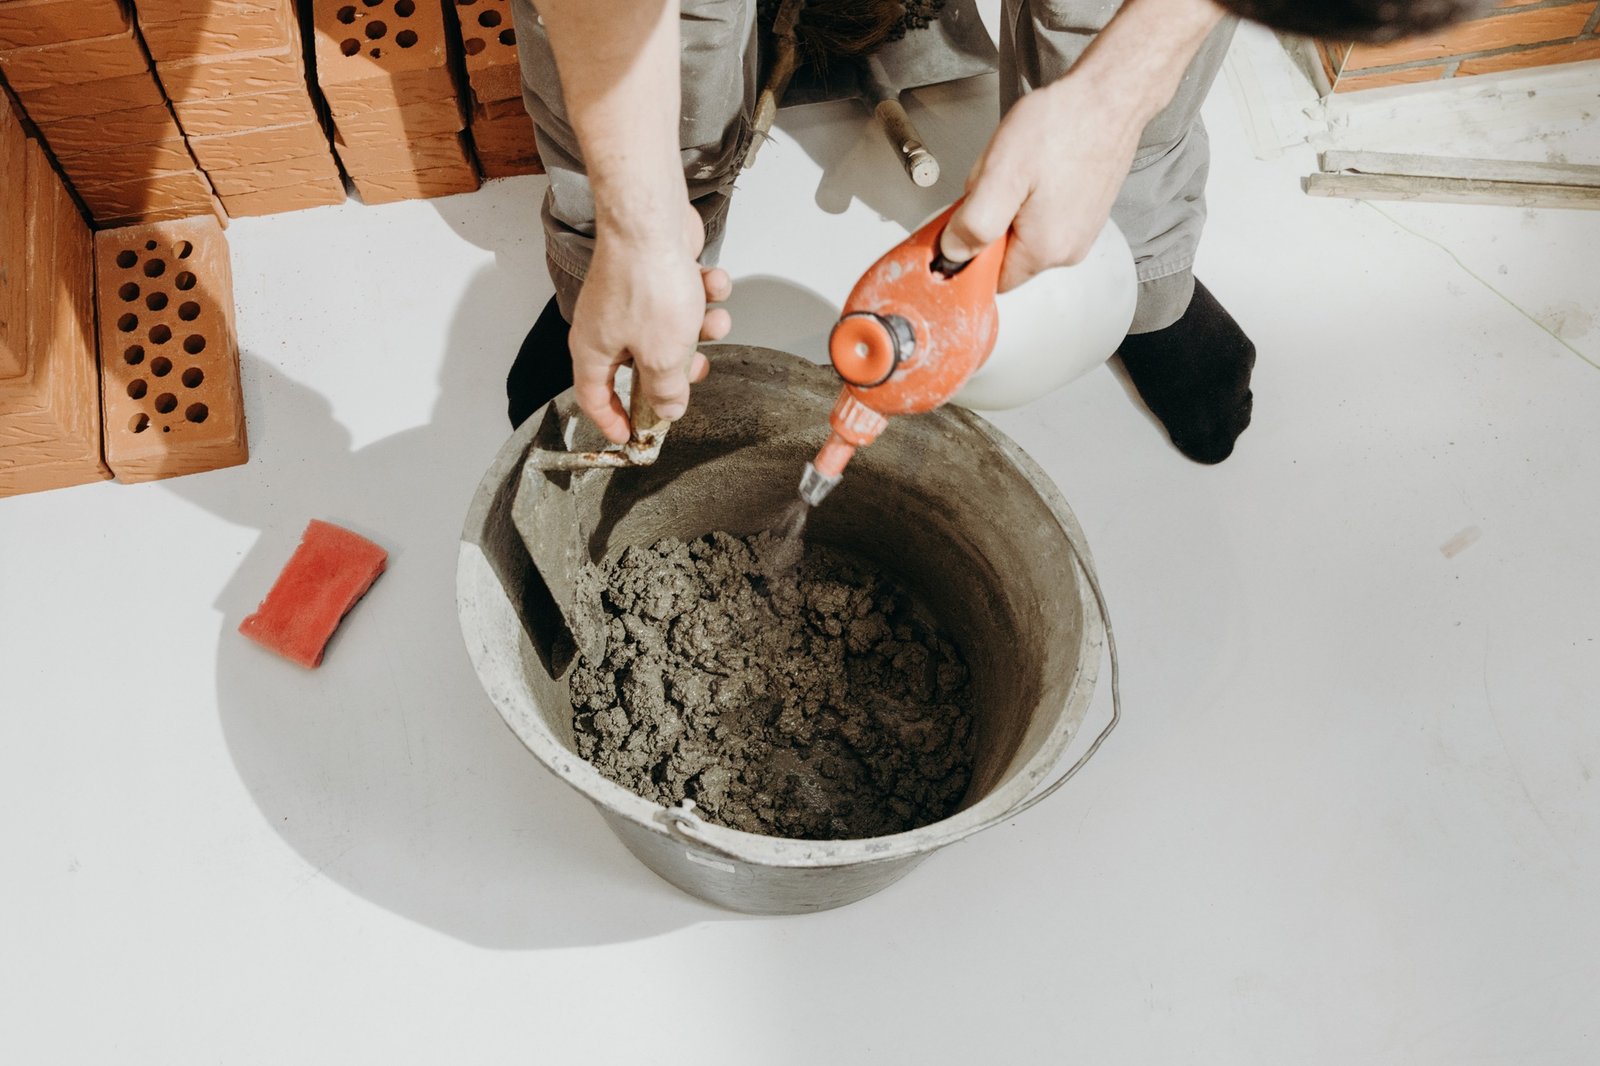
Installers may describe the adhesive as heavy, sticky, dry or difficult to comb. These descriptions should be clarified before changing the formula.
Does the complaint begin immediately after mixing? Does it develop after the mortar rests? Does the adhesive spread normally on one substrate but drag on another?
First check the water quantity, mixing procedure and material age. Adding extra water can change several properties at once and obscure the original problem.
For the manufacturer, review the complete tile adhesive composition, including cement, sand grading, fillers and the additive package.
Cellulose ether selection should account for more than the viscosity stated on a technical data sheet. Observe:
- Resistance under the trowel.
- Smoothness during spreading.
- Formation of consistent adhesive ridges.
- Ease of pressing the tile into position.
- Changes in consistency during use.
When comparing formulations, assess them first at controlled water content. Separately record the water required to achieve comparable application consistency. This distinguishes the effect of an additive change from the effect of additional water.
Why Is Tile Adhesive Not Making Full Contact with the Tile?
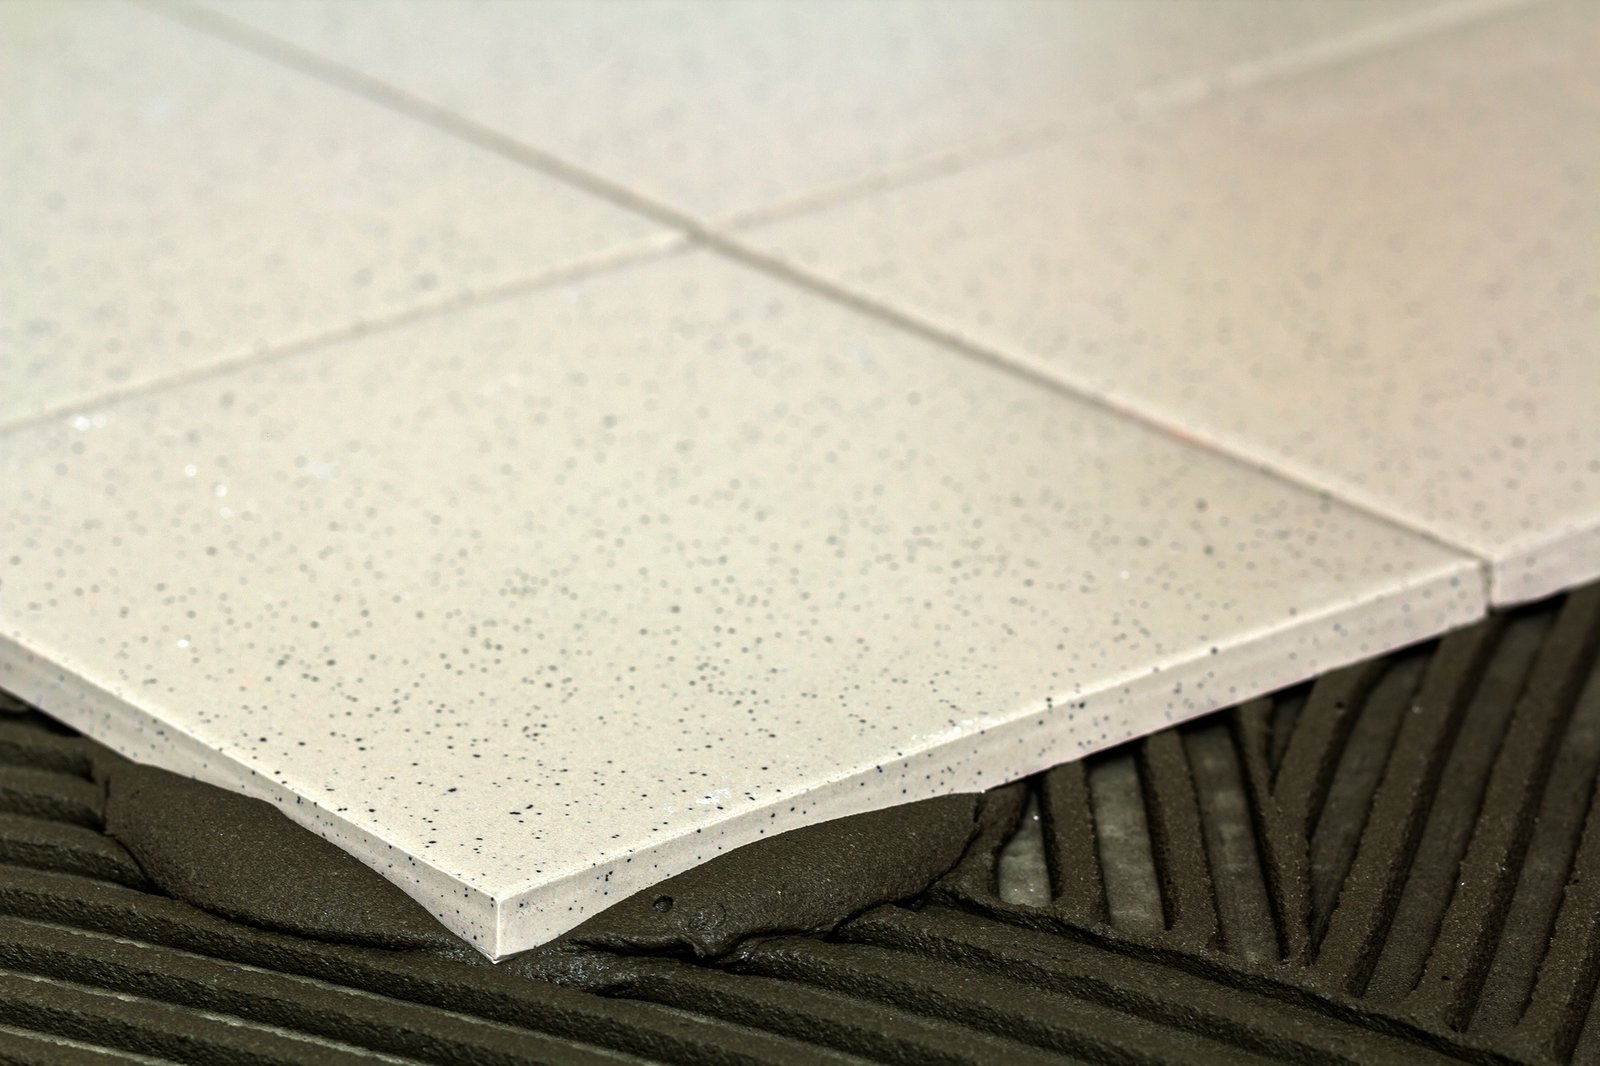
Adhesive coverage describes the contact established between the tile and the adhesive bed. If the mortar remains in separate ridges after placement, parts of the tile may receive little or no contact.
Check trowel selection, the amount of adhesive applied and the placement technique. Also check whether the surface has started to skin before the tile reaches it.
Periodically lifting a freshly placed tile reveals the actual transfer pattern. This is more informative than judging the appearance of the combed adhesive alone.
From a formulation perspective, the mortar needs to hold its ridges before placement and deform sufficiently when the tile is pressed into position.
Hydroxypropyl methylcellulose (HPMC) contributes to water retention and rheology, making grade selection relevant to this balance. Its performance should be assessed through the full spreading-and-placement sequence.
Increasing anti-sag resistance without checking ridge collapse can solve one complaint while creating another. Compare both properties during formulation development.
Why Do Tiles Come Loose After Installation?
When a tile comes loose, the location of separation provides valuable evidence.
Inspect the tile back, adhesive bed and substrate. Record whether adhesive remains on one surface or both, whether the original ridges are still visible, and whether part of the substrate has broken away.
These observations help organize the investigation:
| Observation | Investigation focus |
|---|---|
| Large areas show little adhesive transfer | Coverage, surface skinning and placement |
| Adhesive separates from a dusty or coated substrate | Surface preparation and substrate compatibility |
| Part of the substrate breaks away | Strength and condition of the supporting surface |
| Separation occurs within the adhesive layer | Material preparation, curing and formulation performance |
RDP contributes to the adhesion, cohesion and deformation performance of polymer-modified cementitious adhesives. Its grade and dosage should match the required application.
However, polymer modification does not replace adequate adhesive coverage or a sound bonding surface. Review the installation evidence before treating an increase in RDP as the appropriate response.
The investigation should also include substrate movement, movement-joint arrangements and whether the installation was put into service too early.
Why Does Tile Adhesive Lose Bond Strength After Water Exposure?
Acceptable adhesion under standard curing conditions does not establish performance after water exposure.
First confirm that the adhesive is intended for the installation environment. Review the curing period, exposure history and waterproofing requirements of the complete tiled assembly. Tile adhesive should not be treated as a substitute for a required waterproofing layer.
For the manufacturer, examine the cement–polymer system alongside water demand, air content and curing conditions. RDP selection is an important part of this assessment, but it is not the only variable.
The practical task is to identify why the formulation behaves differently after exposure, rather than adjusting it solely to improve an initial strength result.
Our discussion of standard-cured strength and water-immersion adhesion failure examines this distinction and its relevance to local formulation compatibility.
Which Additives Help Improve Tile Adhesive Performance?
Additive selection is most useful when it follows a defined performance problem.
| Additive | Main role in formulation development | Performance to assess |
|---|---|---|
| HPMC or MHEC | Water retention and fresh-mortar rheology | Spreading, consistency, open time and slip behavior |
| RDP | Polymer modification for adhesion, cohesion and deformation requirements | Bonding under relevant curing and exposure conditions |
| Starch ether or another rheology modifier | Adjustment of handling and anti-sag behavior | Vertical stability, trowel resistance and ridge collapse |
| Defoamer | Control of unwanted entrained air | Air content, fresh density and resulting adhesive performance |
The aim is a balanced adhesive that mixes consistently, spreads effectively, establishes contact and develops the required bond.
A change that improves one property should be assessed against the rest of the installation sequence. For example, stronger ridge stability is not an improvement if installers can no longer achieve adequate tile contact.
What Information Is Needed to Troubleshoot a Tile Adhesive Formula?
Clear site feedback makes technical support more effective.
Instead of reporting “poor workability,” describe when the mortar becomes difficult to spread. Instead of reporting “weak bonding,” include photographs showing the adhesive transfer and the location of separation.
For a focused formulation review, prepare:
- The current formula and raw-material grades.
- Additive dosages and their calculation basis.
- Mixing-water quantity and preparation procedure.
- Product batch and storage history.
- Tile type, dimensions and substrate details.
- Typical adhesive thickness and application method.
- Site temperature, humidity and exposure to wind or sunlight.
- Photographs and available performance results.
These details connect the customer’s complaint with a reproducible application condition and give the manufacturer a clearer basis for selecting the next adjustment.
Site conditions and raw materials influence the final result. Use the troubleshooting steps above to identify likely causes, then confirm formulation adjustments under representative application conditions before production. Additive adjustments belong in the manufacturer’s formulation process; installers should use the finished adhesive according to its instructions.
Get Technical Support for Your Tile Adhesive Formulation
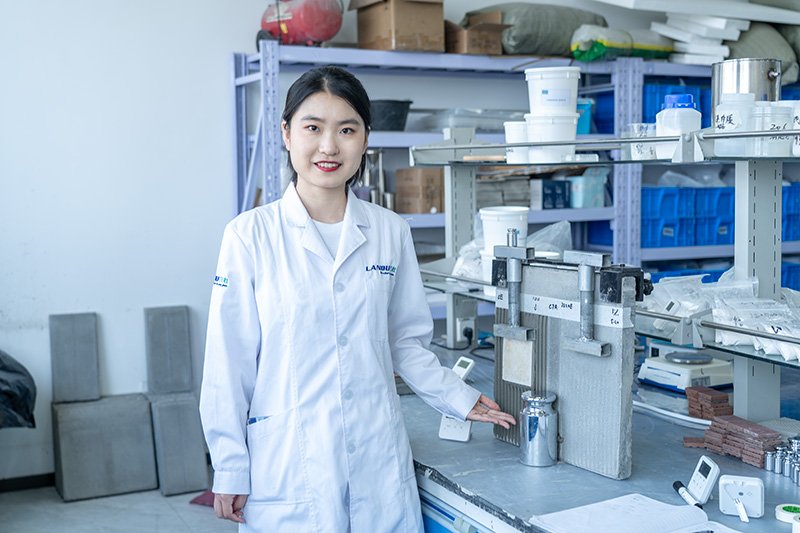
Are your customers reporting tile slipping, rapid skinning, difficult spreading or inconsistent bonding?
Share your current formula, raw-material grades and photographs of the site problem with LANDU. Include the mixing and application conditions so the discussion can focus on the performance that needs improvement.
Discuss Your Tile Adhesive Formulation with LANDU
Start with the customer’s actual installation problem and identify the additive selection and formulation comparisons relevant to your materials and market.